Table of Contents
Introduction
Have you ever wondered how to give your car a sleek, personalized look while also protecting yourself from the sun’s glare and enhancing privacy? Installing car window tint achieves all this and more, transforming your driving experience into something both stylish and comfortable. Whether you’re a car enthusiast or simply looking to add a practical upgrade, tinting your car windows is an impactful change anyone can appreciate.
Car window tinting serves multiple valuable purposes beyond aesthetics. It significantly reduces heat entering your vehicle, helping keep the interior cool during scorching summer days. This can improve your comfort and reduce reliance on air conditioning, ultimately saving fuel. Additionally, quality window tint blocks harmful ultraviolet (UV) rays that can fade your car’s interior and potentially affect your skin, making it a smart health-conscious choice. Many drivers appreciate the added privacy that tinting provides too, as it obscures the view inside your vehicle from outside eyes without compromising your own visibility.
The benefits extend to safety as well. Tinted windows can help hold shattered glass in place during accidents or break-ins, minimizing injury risk. This added security feature gives peace of mind whether you’re parked or driving. Moreover, a professionally installed tint film can reduce glare from the sun and headlights, contributing to safer night and daytime driving. With such a compelling mix of advantages, it’s no surprise that car window tinting has become increasingly popular among drivers worldwide.
For newcomers, the prospect of installing window tint might seem daunting. It involves precise measuring, cutting, and applying film without bubbles or wrinkles—a process that requires patience and care. However, with the right guidance, tools, and preparation, many car owners successfully complete DIY tinting projects and enjoy the satisfaction of a job well done. Before diving into specifics, it’s important to understand the fundamentals of how window tinting works and what materials you’ll need to ensure a smooth installation. This gives you the confidence and know-how to tackle the process effectively.
What You’ll Learn in This Guide
In this comprehensive guide, we’ll walk you through all the essential steps to install car window tint perfectly. Here’s what we’ll cover:
- Preparation Before Tinting: Learn how to gather necessary materials and clean your car windows thoroughly to ensure proper adhesion. Preparation is key to achieving a flawless result.
- Step-by-Step Tint Installation Process: We’ll guide you through the detailed application of the tint film, including positioning, smoothing out air bubbles, and trimming excess material for a professional finish.
- Common Challenges and How to Avoid Them: Discover frequent pitfalls that beginners encounter, such as dust contamination or improper cutting, along with expert tips on steering clear of these issues.
- Aftercare and Maintenance: Understand the best practices to maintain and clean your tinted windows, prolonging their durability and appearance for years to come.
By the end of this guide, you will be equipped with the knowledge and confidence to transform your car’s windows with high-quality tinting. Whether you want to enhance vehicle aesthetics, protect against UV rays, or improve overall comfort, mastering this process empowers you to do so cost-effectively and with pride.
Throughout this article, we will also touch upon related aspects of automotive care and maintenance that support your tinting project. For example, if you’re interested in keeping your car running smoothly after upgrading your windows, you might find valuable tips in our detailed car maintenance tips for beginners. Proper upkeep complements any cosmetic upgrades and ensures your vehicle stays in prime condition.
In the next sections, we’ll break down each phase of the tint installation, offering clear instructions and insider advice to help you avoid common mistakes. You’ll learn how to work efficiently with tint film and tools like squeegees and knives, gaining practical skills that could spark a new hobby or save money on professional installations.
We invite you to immerse yourself in the step-by-step process ahead. You’ll discover how even a first-timer can achieve great results by following the right techniques. By the time you finish reading, you’ll be ready to undertake your tint project and enjoy the myriad benefits it brings to your daily driving experience.
Car window tinting provides numerous benefits including enhanced privacy, reduced glare, and protection from harmful UV rays. As highlighted in the introduction, tinting can also help maintain interior temperature, advancing both comfort and energy efficiency. Understanding the detailed process of how to install car window tint yourself can empower vehicle owners to save money and gain a sense of accomplishment. This discussion focuses on the essential preparation before tinting, followed by the step-by-step installation process. Together, these sections will guide you through a smooth, effective installation for optimal results and durability.
Preparation Before Tinting Your Car Windows
Successful window tint installation begins well before the film touches the glass. Proper preparation is vital to ensure the tint adheres securely and looks flawless. First, gathering all necessary tools and materials prevents interruptions mid-project; these typically include tint film, a squeegee, a sharp knife, and specialized cleaning supplies. Additionally, cleaning the windows thoroughly removes dirt, dust, and oils that could undermine the adhesive strength of the tint film. By investing time in this step, you avoid bubbles, peeling, and premature wear. Accurate measuring and cutting of the tint to suit each window shape also play a critical role, as too large or small cuts waste material or create installation challenges.
Many beginners underestimate the value of planning ahead, but this step sets the foundation for success. To fully grasp this concept, it helps to understand the details behind basic car maintenance, which encompasses window care and cleanliness. Preparing your vehicle with careful attention to these factors reduces frustration and improves the longevity of your tint. A clean, dust-free environment is ideal during preparation and application to minimize the risk of embedded particles or imperfections. By focusing on these foundational steps, you create the best conditions for a smooth, professional-looking tint job all done at home.
Key Aspects of Preparation
Preparing your car involves several critical steps detailed below, each contributing to the overall success of the tinting project:
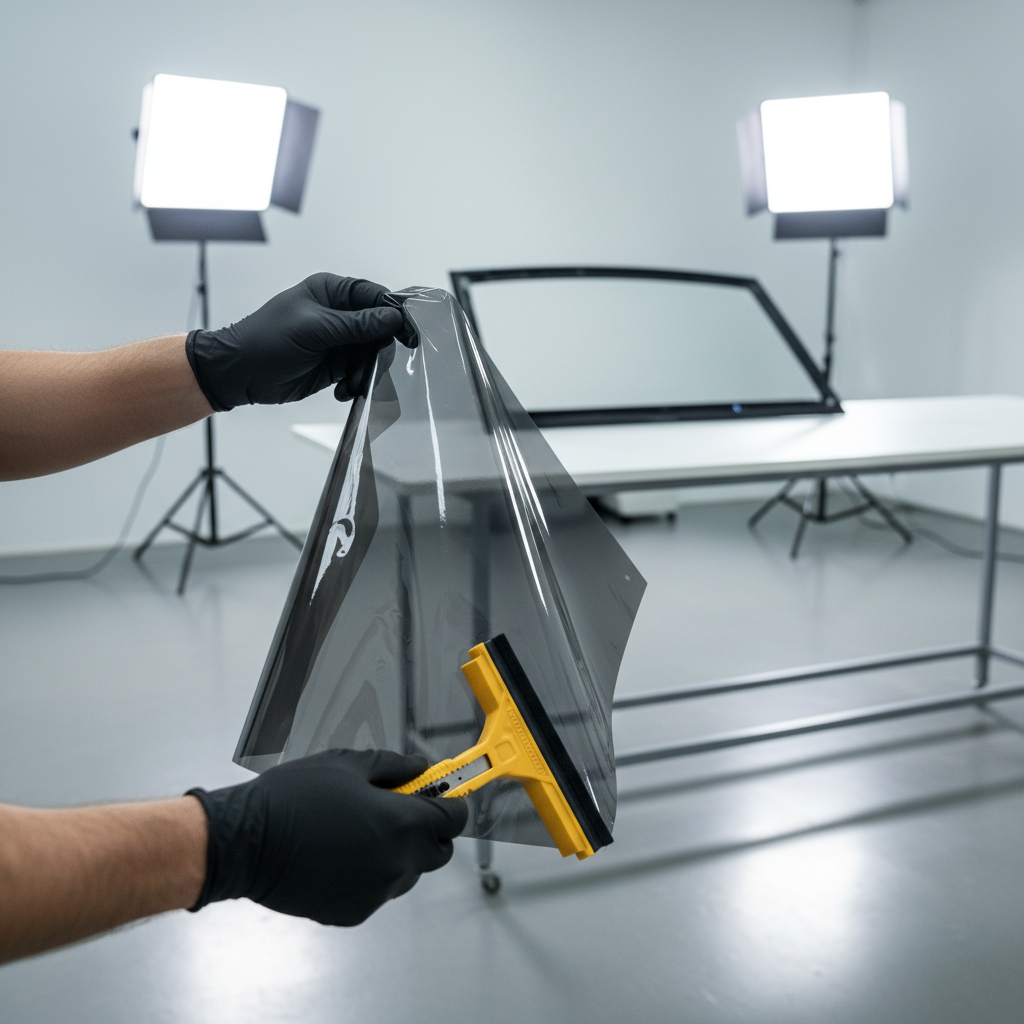
- Gathering Materials and Tools: The cornerstone of preparation is assembling all required items beforehand. Having tint film specifically designed for automotive use ensures durability and UV protection. A good-quality squeegee helps in smoothing the film during installation, while a knife is essential for precision cutting. Proper cleaning supplies, sometimes including liquor-based cleaners and microfiber cloths, remove dirt without leaving residues.
- Cleaning the Windows: Thorough cleaning eliminates contaminants that could cause poor adhesion or bubbles. This includes wiping the entire glass surface multiple times and removing any stickers or adhesive residues. Cleaner windows allow the tint film to bond better, creating a seamless finish.
- Measuring and Cutting the Tint Film: Accurate measurement ensures the film fits each window perfectly. Use the window dimensions to trace and cut the film before application, allowing a slight margin for trim. Misjudging this step can cause wasted material or uneven edges, so take care to measure carefully and cut slowly.
- Creating an Optimal Workspace: Performing the installation in an area free from dust, wind, and direct sunlight aids in better results. Ambient conditions can affect the drying process and the ability to work with the film comfortably, so aim to tint your windows in a controlled environment.
Step-by-Step Tint Installation Process
With preparation complete, the actual installation can proceed smoothly. This phase requires patience and attention to detail to avoid common issues like air bubbles or misalignment. The process generally starts with applying the tint film onto the wet window surface, allowing precise positioning before final pressing. Using a squeegee, air pockets are pushed out systematically to create a flat, smooth surface. Finally, excess film is trimmed away using a sharp knife, ensuring the edges fit perfectly without peeling after drying.
Understanding each step in this process helps prevent costly mistakes and promotes a longer-lasting tint application. Many experts recommend watching tutorials or consulting guides on professional installation methods to master the technique. For a detailed breakdown of how to handle these steps, see our guide on completing automotive installations with precision, which covers similar principles of careful measurement, application, and finishing touches.
Important Considerations for Installation
The installation involves several specific actions that ensure a high-quality tint job. The following bullet points summarize these critical steps:
- Applying the Tint Film: Begin by carefully peeling off the backing film and placing the tint against the wet window. The water spray keeps the film movable, allowing you to position it exactly where needed. Precision at this stage prevents wrinkles and misalignment.
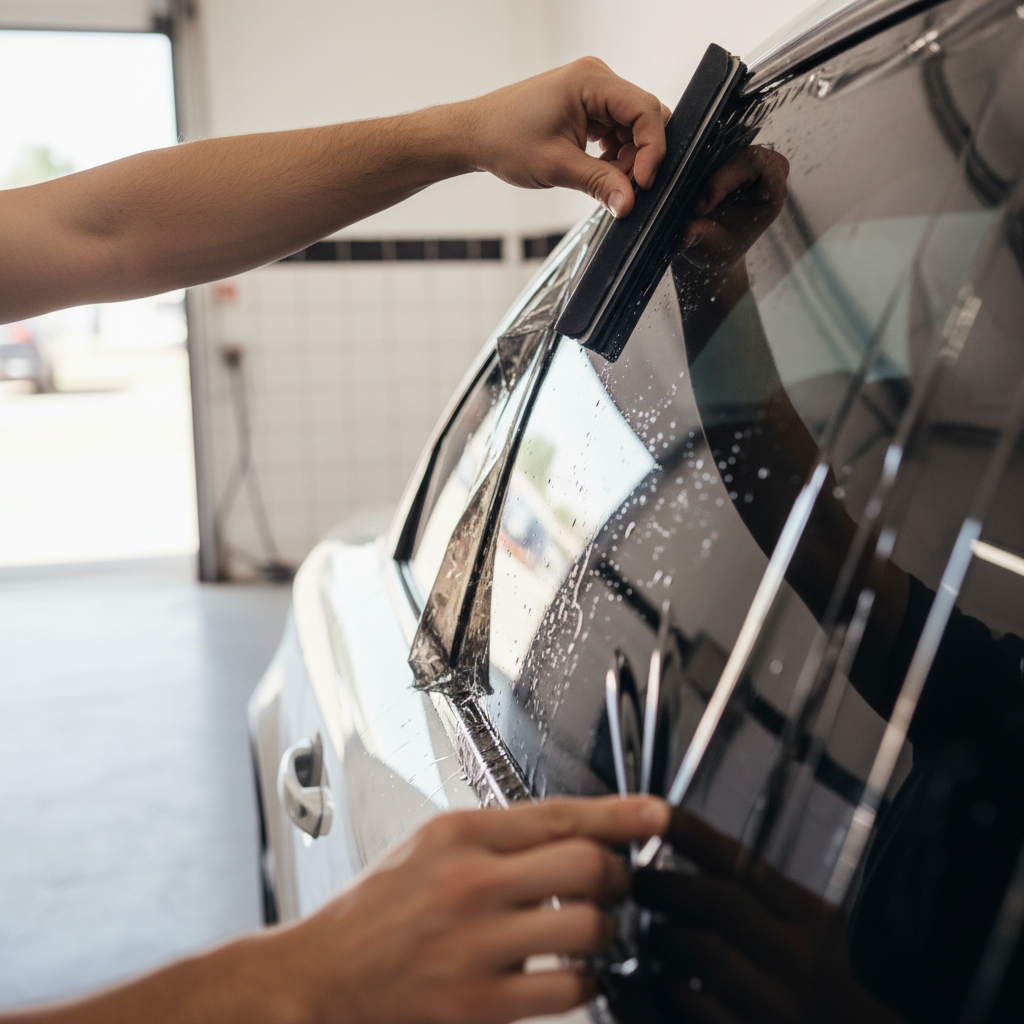
- Removing Air Bubbles: Using a squeegee, start pushing air and water out from the center toward the edges. Work slowly and methodically to ensure no trapped pockets remain. This step is crucial for a clean, transparent finish without imperfections.
- Trimming Excess Film: After smoothing, use a sharp utility knife to trim off any surplus material along the edges of the window. A clean cut helps avoid peeling and creates a professional look. Take care to avoid scratching the glass or cutting too aggressively.
- Drying and Setting: Allow the tint to dry naturally without rolling down windows or cleaning immediately. The drying phase ensures strong adhesion and lasting clarity. Avoiding disturbances during this time significantly improves the tint’s lifespan.

Conclusion
Installing car window tint is a rewarding DIY project that adds style, comfort, and protection to your vehicle. This guide has walked you through the essential phases starting with preparation—gathering the right tools, thoroughly cleaning your car windows, and accurately measuring and cutting the tint film to fit perfectly. These preparatory steps are crucial to avoid common mistakes like dirt contamination and poorly sized film, which can lead to bubbling and peeling later on.
The step-by-step installation process emphasizes careful application of the tint film, smooth positioning, and removing air bubbles with a squeegee for a seamless finish. Trimming excess film to create clean edges maintains a professional look. While tinting can be challenging for beginners, knowing common pitfalls—such as dust getting trapped, misalignment, or rushed application—helps you avoid costly errors and achieve a crisp outcome. Taking your time and working in a dust-free environment greatly improves success.
After installation, proper aftercare is vital to maximize the longevity and appearance of your tinted windows. Using recommended cleaning products and gentle methods prevents scratches and preserves the tint’s protective qualities, such as UV blocking and glare reduction. Protecting your investment also means avoiding abrasive materials and harsh chemicals that could degrade the film. Longevity is assured with patience and consistent care.
Now that you understand the full process, the next step is to gather your materials and start your car window tinting project with confidence. Whether you’re a first-timer or an experienced car enthusiast, following these guidelines will help ensure smooth, attractive results that enhance your vehicle’s value and comfort. For a well-rounded approach to vehicle upkeep, complement your tinting efforts by exploring comprehensive car maintenance tips for beginners. Proper maintenance practices keep your car running smoothly and looking great, supporting your new tint installation perfectly.
In closing, car window tinting offers practical benefits that enhance your driving experience while allowing personal style expression. With thorough preparation, patient technique, and attentive aftercare, you can achieve professional-quality results on your own. Start your tint installation journey today and enjoy the blend of safety, privacy, and aesthetic appeal it brings to your vehicle. Your investment in proper technique and care will pay off with a sleek, durable finish that you’ll appreciate on every drive.