Table of Contents
Introduction
Painting a car at home might seem like a daunting task, but with the right guidance, it can be an immensely rewarding project. Have you ever imagined giving your vehicle a fresh, personalized look without the hefty price tag of professional services? Whether you want to restore your car’s original shine or try out a custom color, painting your car yourself allows for creativity and cost-saving. This comprehensive guide will walk you through the entire process step-by-step so you can achieve a professional-looking finish in the comfort of your own garage or driveway.
Many car enthusiasts and DIY hobbyists are turning to home car painting as a satisfying way to maintain and customize their vehicles. According to industry observations, maintaining the aesthetics of your car not only increases its value but also boosts pride of ownership. Properly painting your car helps prevent rust and corrosion, protecting the bodywork from environmental damage. However, many shy away from DIY painting due to concerns about the process complexity and quality outcomes. This guide is designed to ease those concerns by breaking down each step clearly, offering tips and best practices learned from experienced painters.
The benefits of painting a car at home extend beyond cost savings. It empowers you with skills and knowledge about your vehicle’s maintenance while giving a sense of accomplishment. Plus, you control every aspect — from the choice of paint type and finish to the exact preparation and safety measures you implement. Understanding preparation techniques, such as cleaning and sanding, is critical for ensuring the paint adheres smoothly and lasts long. Many people also wonder about the tools and materials required for this task, from different paint types like enamel or urethane to spray guns and protective gear. This guide addresses all these essentials to set you up for success.
It’s normal to feel a little overwhelmed at first glance, but once you understand the sequence — from prepping your car, selecting the right supplies, to applying primer and coats — the process becomes much more manageable. Safety is paramount; painting should always be done in a well-ventilated area while wearing appropriate protective equipment. As we proceed, you will learn practical safety tips that protect both you and your investment. Many beginners benefit from additional guidance on troubleshooting common issues, such as avoiding paint runs or dealing with dust imperfections. We cover these practical solutions, so you avoid pitfalls and complete your project with confidence.
What You’ll Learn in This Guide
In this detailed guide, we’ll cover everything you need to know to paint your car at home successfully. Whether you’re new to automotive painting or refining your approach, this resource will empower you with thorough knowledge and hands-on techniques.
- Preparation Essentials: Learn how to thoroughly clean, sand, and mask your car’s surface. Proper preparation is the foundation of a flawless finish, preventing common painting defects and extending the lifespan of your work.
- Tools and Materials Overview: Get familiar with the different paint types and painting equipment you’ll need. Understand the pros and cons of enamel, acrylic, and urethane paints and discover which tools offer the best results and safety.
- Step-by-Step Painting Process: Follow clear instructions from priming the surface to applying the base color coat and finishing with a protective clear coat. Each step includes tips on technique, timing, and environmental considerations to help you achieve an even, durable finish.
- Safety Measures and Troubleshooting: Learn essential safety precautions like proper ventilation and personal protective equipment use. Discover how to identify and fix common problems such as paint runs, orange peel texture, and dust contamination to ensure your paint job looks professional and polished.
As you explore this guide, you’ll see that painting your car at home is not only achievable but can become an enjoyable and satisfying project. We break down complex tasks into manageable, logical steps so you feel confident moving through the process. From understanding why priming matters to mastering spray gun techniques, every chapter provides valuable insights. Plus, practical advice on safety and troubleshooting empowers you to overcome challenges without stress.
Ready to roll up your sleeves and transform your car’s appearance? The following sections dive deeper into preparation techniques that are crucial for success. We outline how to clean and sand meticulously to create the perfect canvas. Next, we’ll discuss choosing the best paint types and the right equipment that suits both budget and quality standards. The step-by-step painting process is designed to guide you clearly from start to finish while maintaining attention to detail and safety.
This guide is ideal for anyone who values quality and wants to learn a new skill. By following along, you’ll be equipped to deliver a smooth, glossy finish that rivals professional jobs. Take pride in your work, save money, and enjoy the thrill of DIY automotive care. Let’s get started on bringing new life to your car with the confidence and knowledge you need to paint like a pro.
Painting a car at home can be a rewarding project that not only saves money but also allows you to customize the look of your vehicle exactly to your liking. With proper planning and attention to detail, a home paint job can yield results comparable to professional work. This discussion will guide you through the essential aspects of the car painting process, focusing first on the crucial preparation steps and then on the detailed painting techniques. Preparing your car thoroughly before applying paint is vital for a smooth, durable finish that lasts for years. Understanding the nuances of the painting process will help you achieve a professional-quality result, while safety precautions ensure your well-being throughout the project.
Preparation for a Successful Car Paint Job
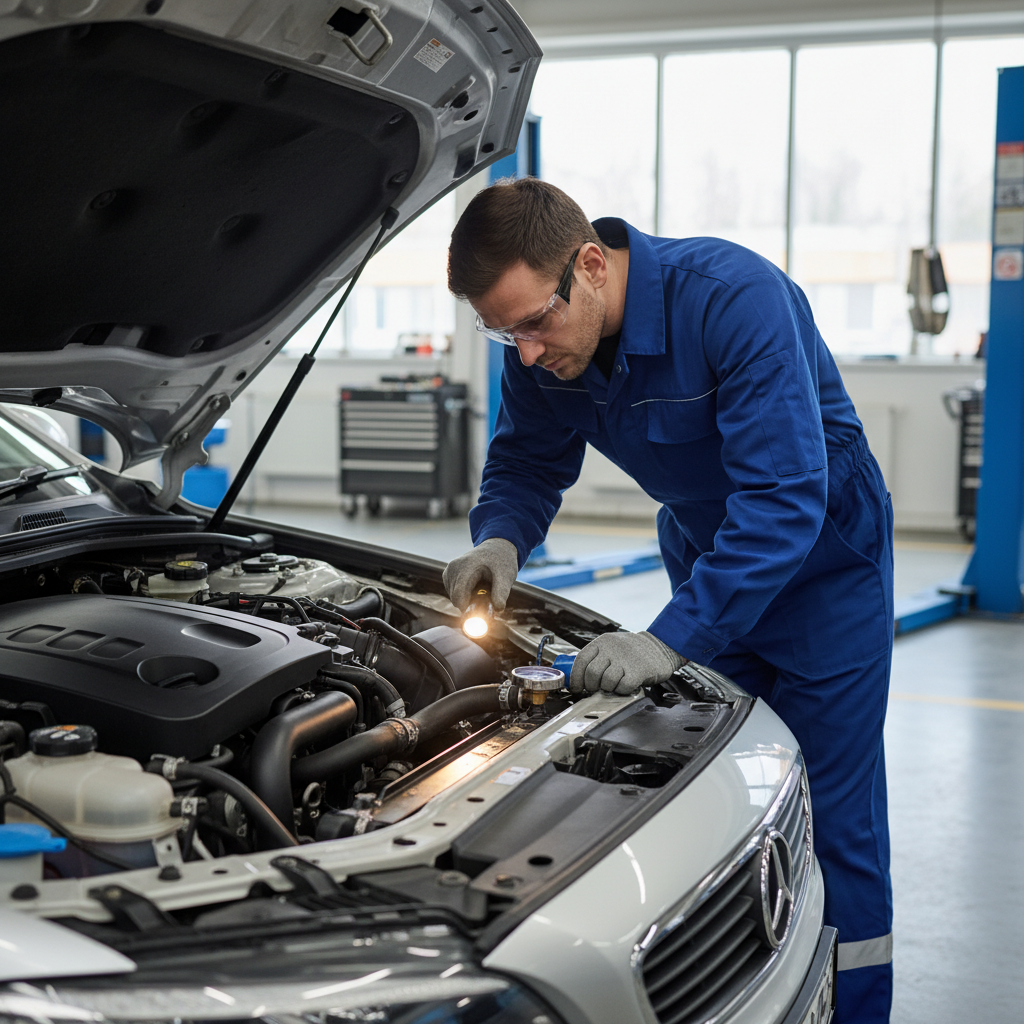
Preparation is the foundation of any successful car painting project. Whether you are working with an older car or simply changing the color, taking the time to properly clean, sand, and mask the surface will make a significant difference in the final appearance and longevity of the paint job. Many novice DIYers underestimate the preparation’s importance and find their efforts compromised by uneven finishes, peeling paint, or surface imperfections. Proper prep work helps the new paint adhere well, prevents rust, and ensures a smooth canvas free of contaminants that could ruin the finish. To fully grasp this concept, it helps to understand general car maintenance tips for beginners as part of taking good care of your vehicle before repainting.
Cleaning the car surface thoroughly is the first step. Washing away dirt, grease, and wax ensures the paint adheres effectively. A high-quality degreaser can be applied after washing to remove any stubborn residues that water alone cannot eliminate. Following cleaning, sanding the old paint is essential to create a slightly rough texture, which allows the new paint to bond properly. Selecting the right grit sandpaper matters; typically, beginning with a coarser grit like 320 and finishing with a finer grit around 600 gives the best surface profile. Masking and covering areas such as windows, trim, tires, and headlights protects them from overspray and keeps your work clean. Many experts recommend using automotive-grade masking tape and plastic sheeting for best results.
Key Aspects of Preparation
Successful preparation hinges on several important steps that collectively ensure your car is ready for paint application. Here are the main points to remember:
- Thorough Cleaning: Removing all dirt, grease, and contaminants before painting prevents adhesion problems. Use automotive cleaners and degreasers for best results, then rinse and dry completely.
- Proper Sanding: Sanding removes the glossy finish and roughens the surface to help paint stick. Use progressively finer grit sandpaper to achieve a smooth finish without scratches.
- Protective Masking: Careful masking safeguards trim, windows, and other parts you don’t want painted, ensuring clean edges and preventing costly cleanup.
- Inspection and Repairs: Check for dents, rust spots, or damaged areas and address them before painting. Filling and smoothing imperfections enhances the final look and durability.
Step-by-Step Car Painting Techniques
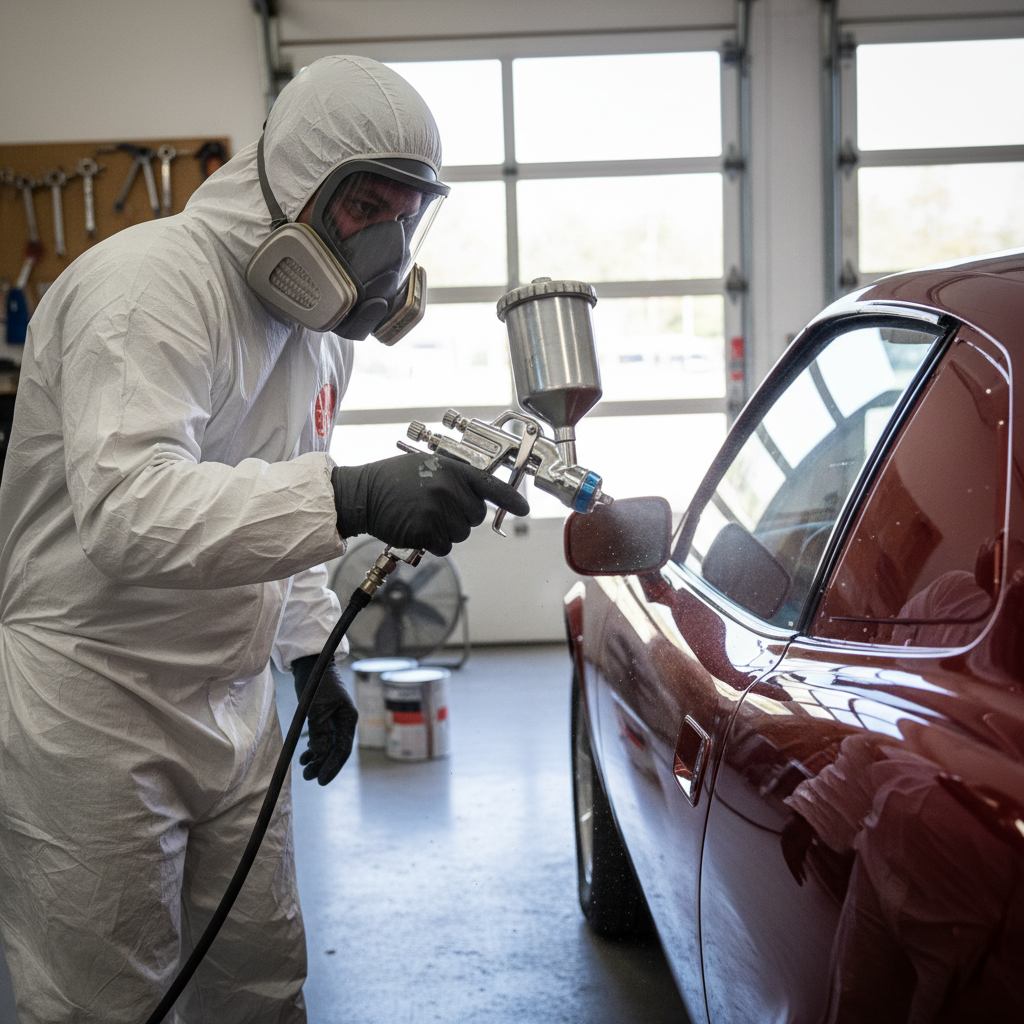
Once your car is impeccably prepared, the painting process involves several carefully executed stages to build a strong, attractive finish. Understanding each step’s purpose and technique helps you avoid common pitfalls like runs, uneven coats, or paint bubbles. Applying primer first creates a bonding layer that improves paint adhesion and corrosion resistance. After the primer dries, you apply the base coat, which is the color layer of your paint. Applying this coat evenly with proper spray gun technique ensures a smooth appearance without blotches or sags. Finally, the clear coat goes on to protect the color coat and add shine, making your car look polished and professional.
The process requires patience—allow adequate drying time between coats and use appropriate environmental controls such as shade, low humidity, and minimal dust. These factors heavily influence the quality of the finish. For a detailed breakdown of this step, see our guide on car maintenance tips for beginners which includes some helpful insights on painting care and environment considerations.
Important Considerations for Painting
Several technical details are crucial to achieve a quality paint job that looks great and lasts. Consider the following:
- Primer Application: Use even coats, holding the spray gun approximately 6-8 inches from the surface. This provides a smooth base while avoiding drips or heavy build-up.
- Base Coat Techniques: Apply multiple thin layers instead of one thick coat. Maintain consistent spray distance and use overlapping passes to cover evenly without running.
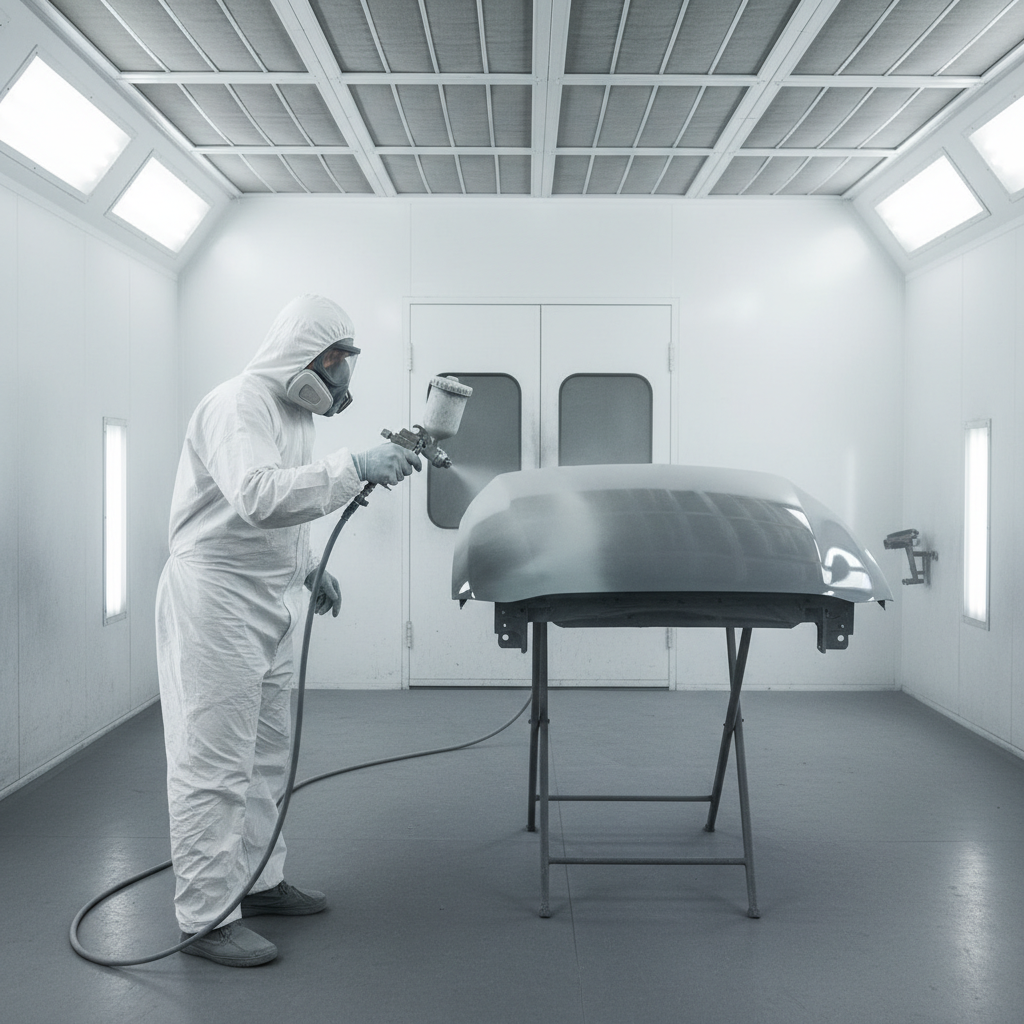
- Clear Coat Finishing: The clear coat seals and protects your paint from UV rays, chemicals, and minor scratches. Proper application enhances gloss and durability, requiring good technique and appropriate environmental conditions.
- Drying and Curing: Allow each layer to dry fully before applying the next. Using fans or heat lamps can accelerate drying but avoid rushing as it can cause defects like orange peel or fish eyes.

Conclusion
Painting a car at home is a rewarding and achievable project when approached with the right knowledge and preparation. Throughout this guide, you’ve learned the critical role that thorough cleaning, proper sanding, and careful masking play in creating a smooth and durable surface for paint application. Selecting the right paint types and using suitable equipment further contributes to a professional-looking finish. Equally important are the safety precautions, such as working in a well-ventilated area and wearing the appropriate protective gear, to safeguard your health during the process. Each layer applied, from primer to base coat to clear coat, builds upon the last, requiring patience and attention to detail to avoid common imperfections like runs or dust contamination.
From mixing your custom shade to the satisfying experience of watching fresh paint transform your car’s appearance, the DIY car painting process embodies both creativity and craftsmanship. This hands-on approach not only saves money but also fosters a deeper connection to your vehicle, elevating pride in ownership. With practice, any beginner can master the techniques needed for a flawless finish that stands the test of time. Additionally, troubleshooting tips covered here help you identify and correct issues early, ensuring your paint job remains smooth and glossy.
Remember, the foundation of any successful auto painting venture is meticulous preparation and adherence to safety practices. Mastering these steps leads to enhanced durability and a vibrant, customized result. Your investment in time and effort will be visible every time sunlight gleams off your newly painted surface, reflecting both your skill and dedication.
To get started, focus on thoroughly prepping your vehicle’s surface by cleaning and sanding it meticulously. Invest in quality automotive paints and essential painting tools to aid in consistent application. Don’t overlook protective equipment such as masks and gloves to ensure a safe working environment. Once the painting phase is complete, maintaining your vehicle is crucial for longevity. We recommend exploring car maintenance tips for beginners to keep your paint looking fresh and your car in top shape. Taking these next steps will help seal your success and prolong the life of your DIY paint job.
Ultimately, painting your car at home is more than a cosmetic upgrade; it’s an empowering skill that builds confidence and expands your automotive know-how. With patience and persistence, you can create a stunning finish that truly reflects your personal style. So roll up your sleeves, plan carefully, and embrace the journey of transforming your vehicle—each step brings you closer to a masterpiece you crafted yourself. Keep learning, stay safe, and take pride in the art of DIY automotive painting.